Required Equipment
- Medium saucepan
- Whisk
- Measuring cups and spoons
- Blender or immersion blender (optional but recommended)
- Heat-resistant spatula
- Mixing bowl
- Airtight container for storage
Core Ingredients
Protein Base
- 2 cups milk of choice
- Dairy milk gives the creamiest result
- Almond milk is lighter
- Oat milk adds natural sweetness
- 2 scoops chocolate protein powder
- Whey protein gives a smoother texture
- Plant-based protein works but thickens faster
Thickening Agents
- 2 tablespoons cornstarch
- 1 tablespoon cocoa powder (unsweetened)
Flavor and Sweetness
- 2 to 3 tablespoons sweetener of choice
- Honey
- Maple syrup
- Sugar
- Zero-calorie sweetener
- 1 teaspoon vanilla extract
- 1 pinch salt
Optional Richness Boosters
- 1 tablespoon nut butter (peanut, almond, or cashew)
- 1 tablespoon dark chocolate chips
Step 1: Prepare the Dry Mix
In a medium mixing bowl:
- Add cornstarch
- Add cocoa powder
- Add protein powder
- Add salt
Whisk thoroughly until fully combined.
This step is extremely important.
If the powders are not mixed evenly now, the pudding may become lumpy later.
Step 2: Create the Slurry
Slowly add ½ cup of the milk to the dry mixture.
Whisk continuously while pouring.
You are aiming for:
- A smooth, thick liquid
- No visible powder clumps
- A texture similar to heavy cream
Set this mixture aside.
Step 3: Heat the Remaining Milk
Pour the remaining 1½ cups of milk into a saucepan.
Place over medium heat.
Stir occasionally to prevent scorching.
Heat until the milk is:
- Warm
- Steaming slightly
- Not boiling
Do not let it boil.
Step 4: Combine and Thicken
Reduce heat to medium-low.
Slowly pour the prepared slurry into the warm milk while whisking continuously.
Keep whisking steadily for 3 to 5 minutes.
You will notice:
- The mixture thickening gradually
- The color becoming darker
- The texture changing from liquid to pudding
If it thickens too fast, remove the pan from heat and continue whisking.
Step 5: Add Sweeteners and Flavor
Once thickened:
- Add sweetener
- Add vanilla extract
- Add nut butter if using
- Add chocolate chips if using
Stir until fully melted and combined.
Taste the pudding at this stage and adjust sweetness if needed.
Step 6: Optional Blending for Ultra-Smooth Texture
For the smoothest possible pudding:
- Transfer mixture to a blender
- Blend for 20–30 seconds
- Return to saucepan if still warm
This step removes any remaining graininess, especially helpful with plant-based protein powders.
Step 7: Cooling and Setting
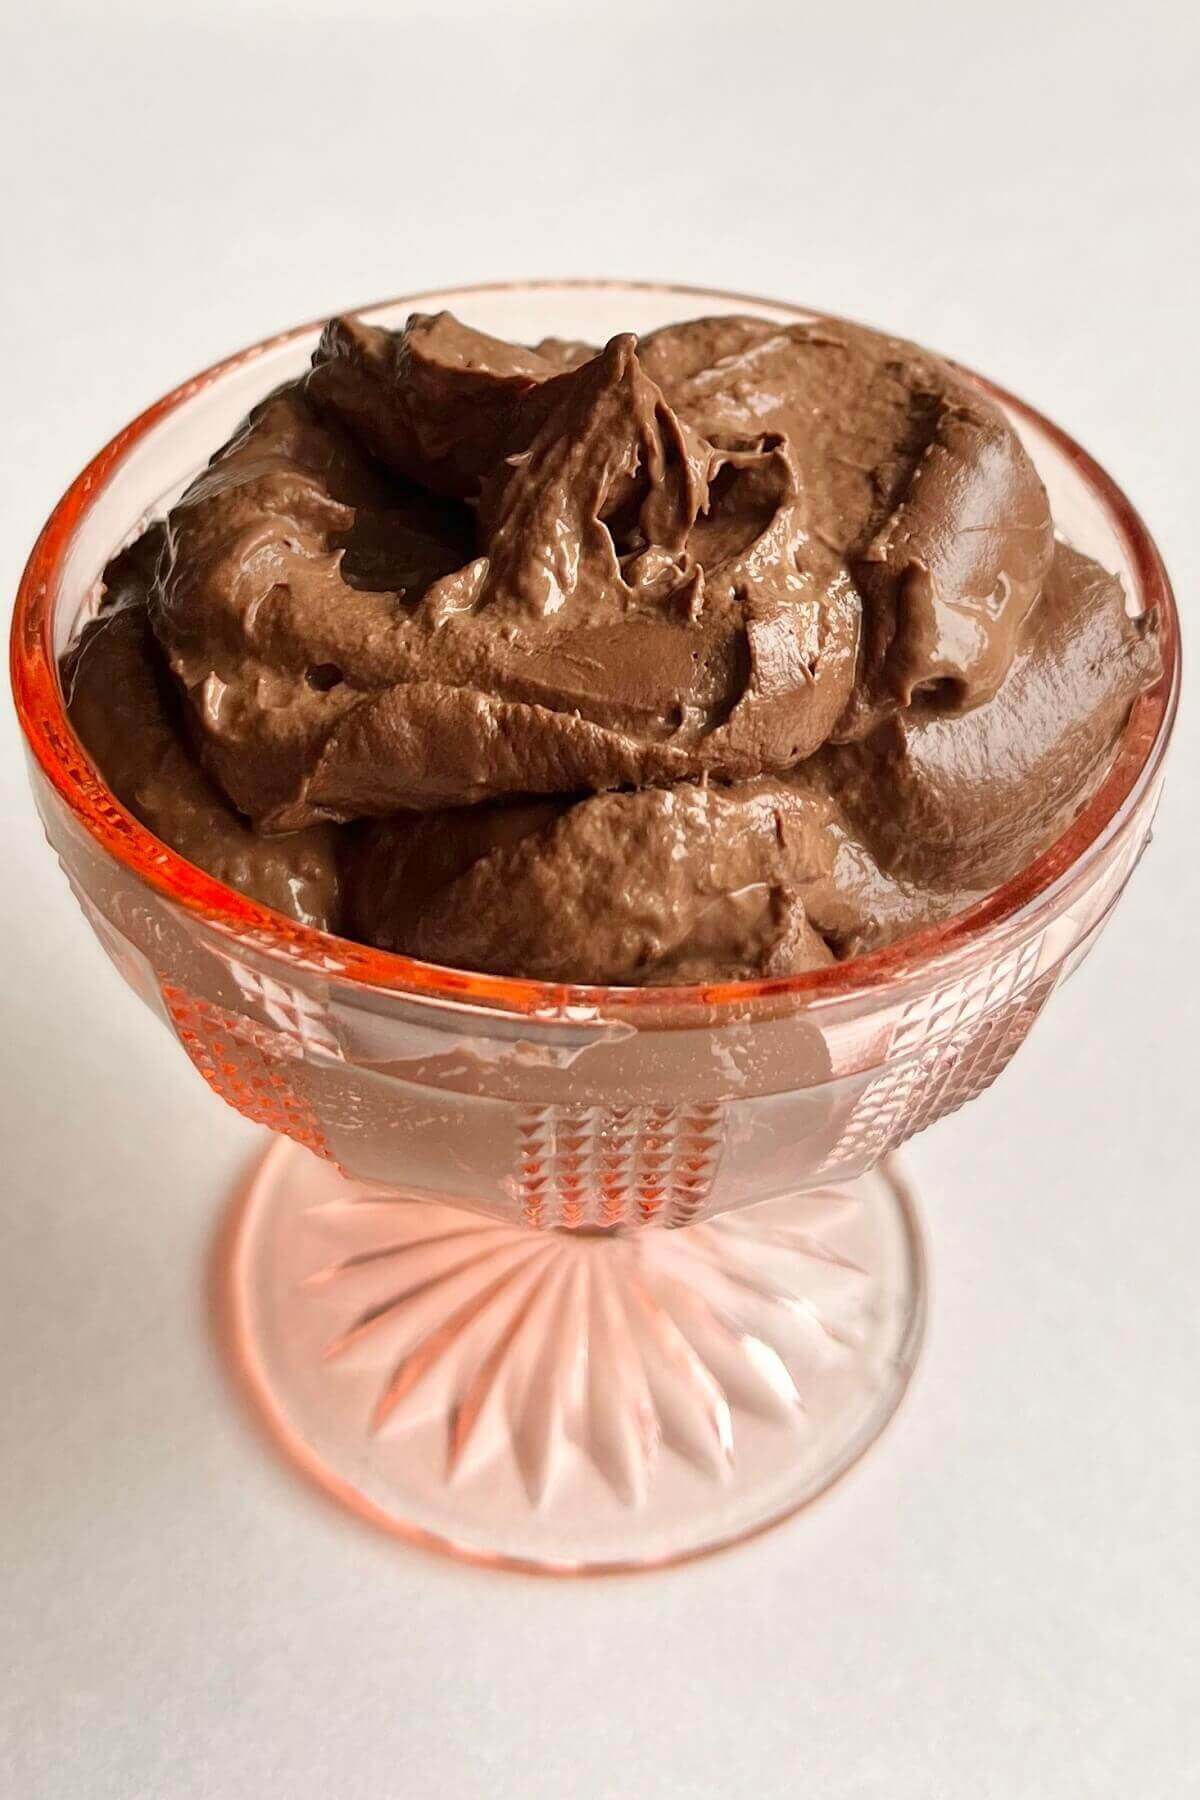
Pour pudding into serving containers.
Press plastic wrap directly onto the surface to prevent a skin from forming.
Refrigerate for:
- At least 1 hour for soft pudding
- 3 to 4 hours for very thick pudding
The pudding will continue to firm up as it chills.
Texture Adjustments
If the pudding is too thick:
- Stir in 1 to 3 tablespoons of milk
If the pudding is too thin:
- Heat gently and whisk in ½ teaspoon cornstarch mixed with cold milk