Ingredients (For One Serving)
- 1 slice of bread
Any type works: white bread, whole wheat, brown bread, multigrain, or sourdough. - 1 large egg
Fresh eggs give better flavor and texture. - 1 tablespoon butter or oil
Butter gives a rich taste, oil gives a lighter result. - Salt, to taste
- Black pepper, to taste (optional)
Optional additions (do not add until comfortable with the basic recipe):
- Cheese
- Onion
- Tomato
- Herbs
- Chili flakes
Equipment Needed
- One non-stick frying pan or flat pan
- One spatula
- One small bowl (optional, for cracking the egg)
- Stove or cooktop
Step-by-Step Cooking Instructions
Step 1: Preparing Your Workspace
Before turning on the stove, place all your ingredients nearby. This makes cooking smoother and prevents mistakes. Make sure the pan is clean and dry.
Place the bread on a plate so it is ready when needed.
Step 2: Heating the Pan
Place the frying pan on the stove over medium heat.
Do not use high heat, as this can burn the bread and egg too quickly.
Add the butter or oil to the pan.
Let the butter melt completely or the oil warm up. You should see the butter gently bubbling or the oil becoming slightly shiny. This means the pan is ready.
Step 3: Toasting the Bread
Place the slice of bread flat in the pan.
Let it cook for about 1 to 2 minutes on the first side.
The bread should turn light golden brown.
Flip the bread using the spatula and toast the other side for another 1 minute.
Remove the bread from the pan and place it on a plate.
This step gives the bread a crisp texture so it does not become soggy later.
Step 4: Cooking the Egg
Using the same pan, lower the heat slightly to medium-low.
If the pan looks dry, add a little more butter or oil.
Crack the egg gently into the pan.
If you are not confident cracking eggs directly into the pan, crack it into a small bowl first, then pour it in.
Let the egg cook without touching it for about 1 minute.
The white should begin to turn solid.
Sprinkle a small amount of salt and pepper over the egg.
Step 5: Choosing Your Egg Style
You can cook the egg in different ways depending on preference:
For a runny yolk:
- Cook until the white is fully set but the yolk remains soft.
- This takes about 2 minutes total.
For a medium yolk:
- Gently flip the egg and cook for 20 to 30 seconds more.
For a fully cooked yolk:
- Flip the egg and cook for 1 full minute.
Be gentle when flipping to avoid breaking the yolk.
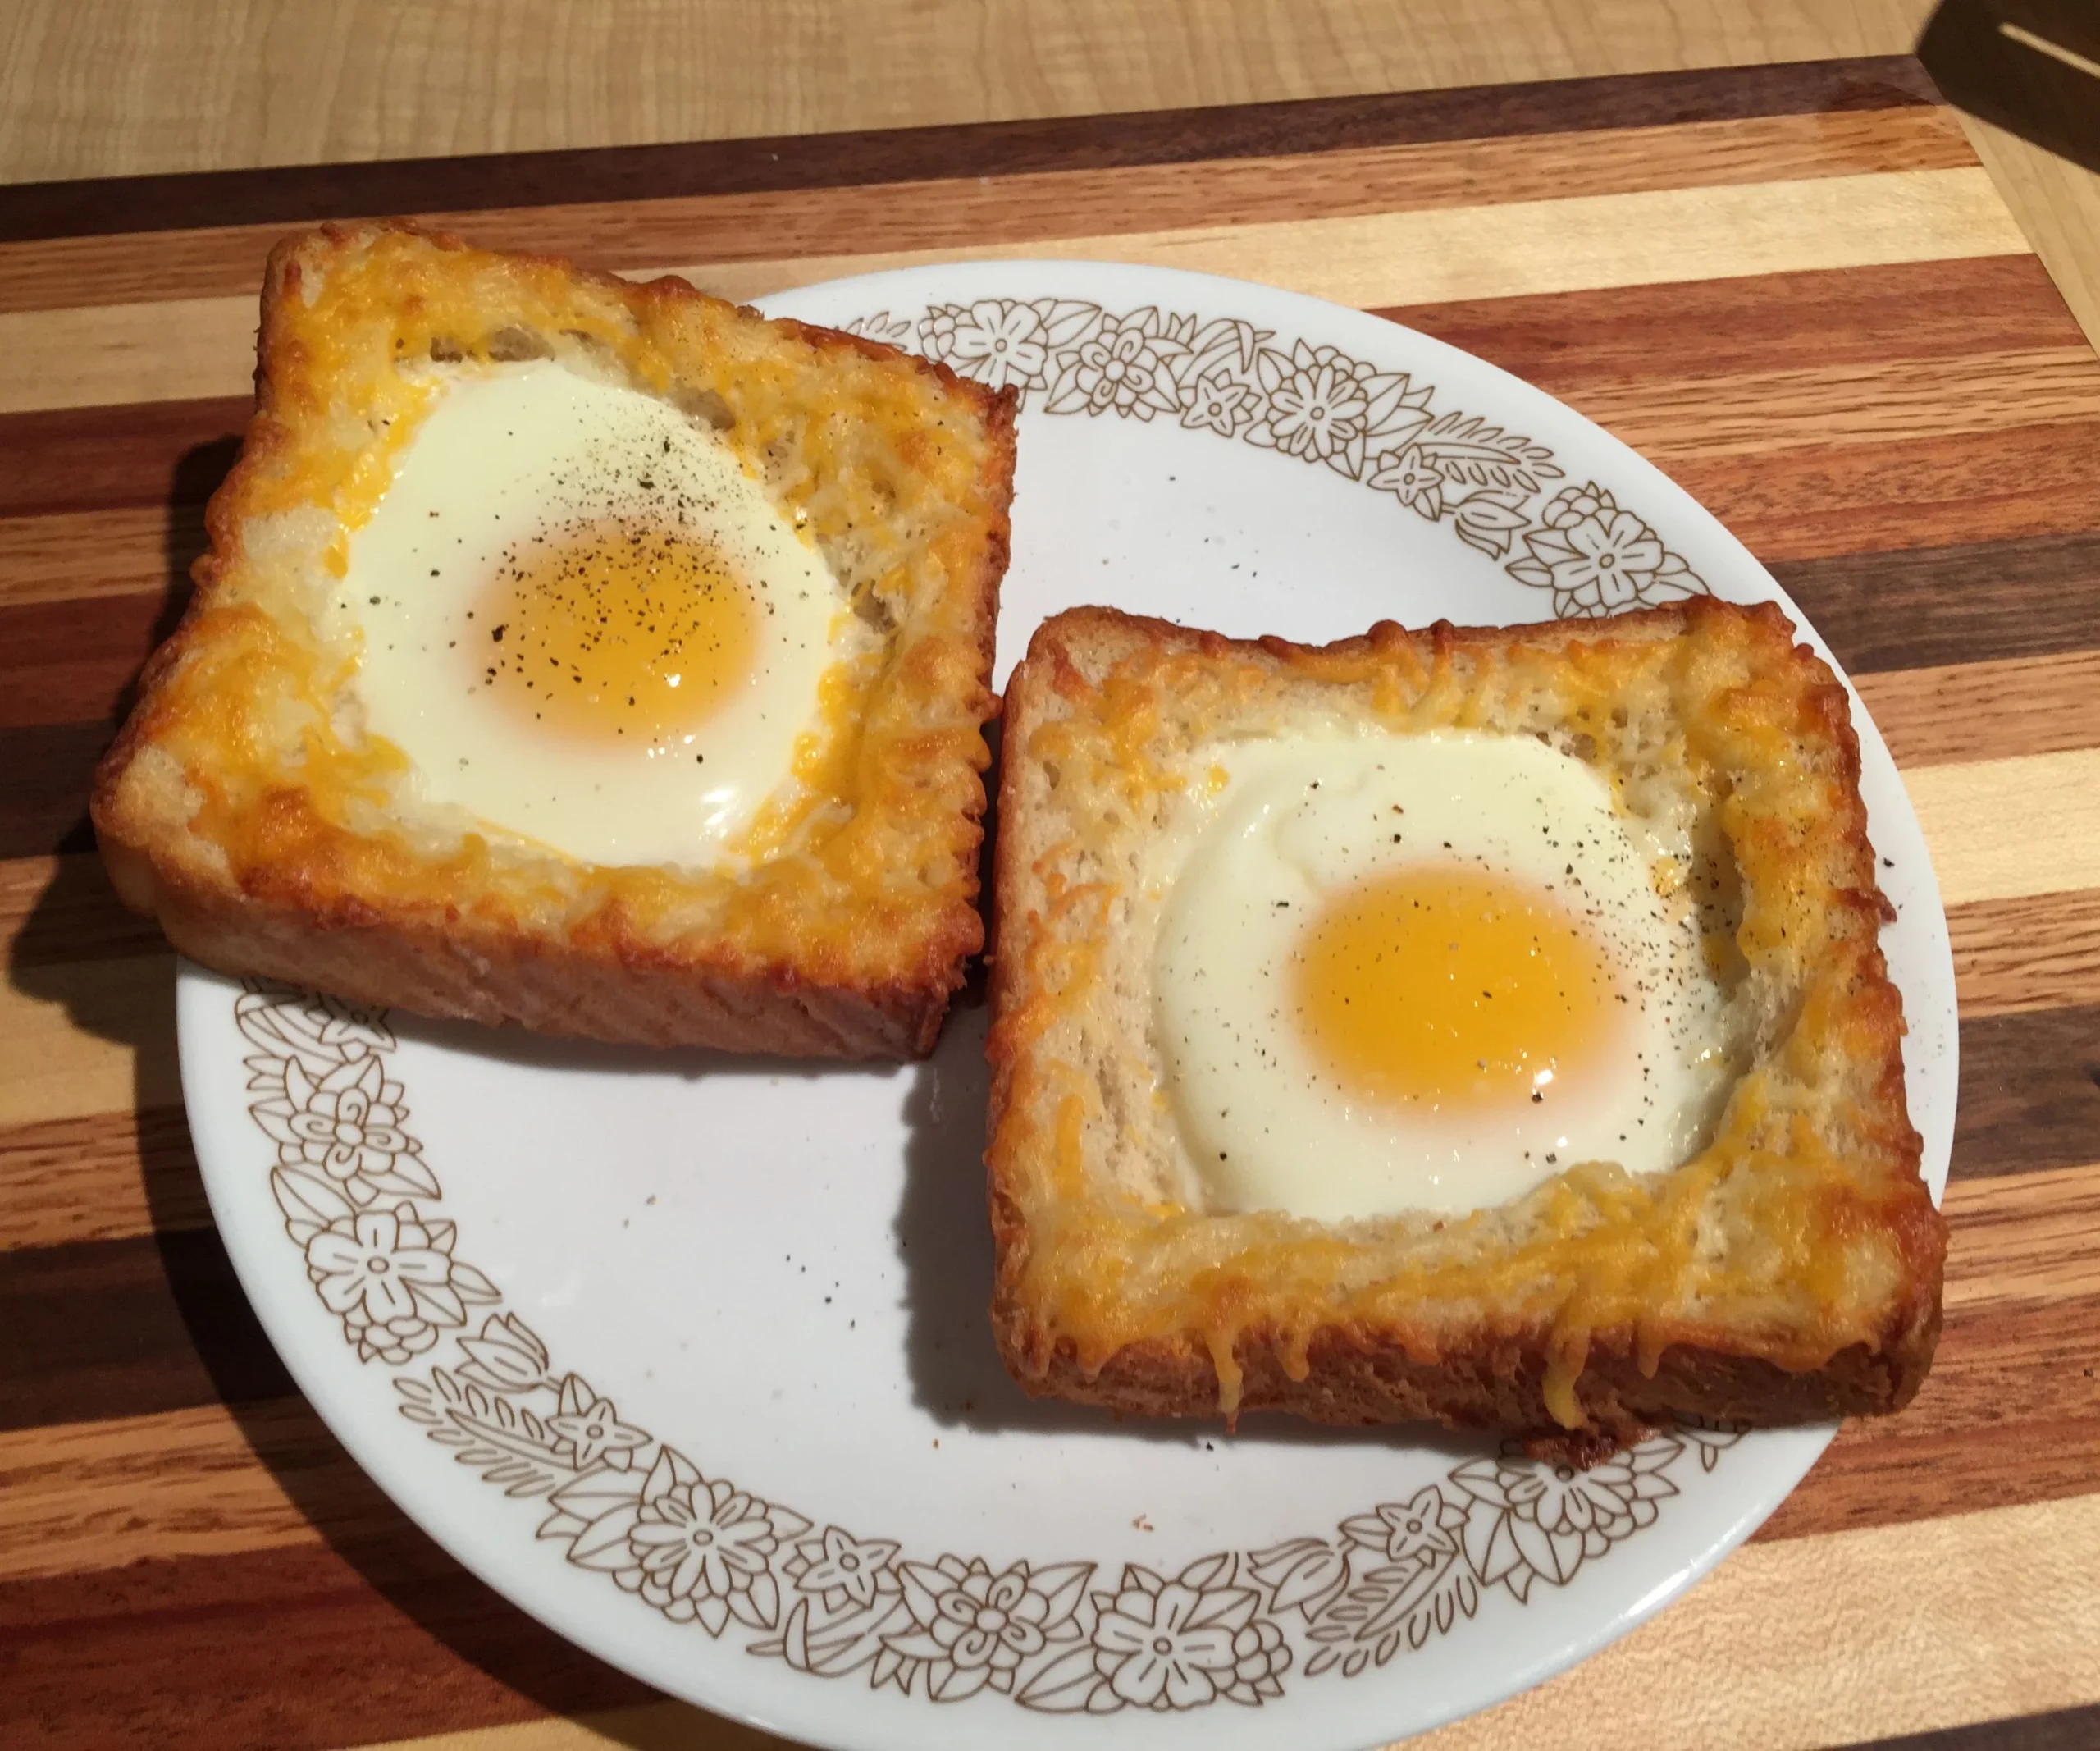
Step 6: Assembling the Egg Toast
Place the toasted bread back into the pan or directly onto a plate.
Carefully place the cooked egg on top of the toast.
Press lightly with the spatula so the egg sits flat and does not slide off.
If desired, add a tiny pinch of salt on top.
Optional Flavor Additions (After Mastering the Basic Recipe)
You can improve flavor once you are comfortable with the basic egg toast.
- Cheese: Place cheese on the toast before adding the egg so it melts.
- Vegetables: Add finely chopped onions or tomatoes to the pan before cooking the egg.
- Herbs: Sprinkle herbs on top after cooking.
- Spice: Add chili flakes or pepper for heat.
Common Mistakes and How to Avoid Them
Burnt bread:
- Heat was too high.
- Always use medium or medium-low heat.
Soggy toast:
- Bread was not toasted first.
- Always toast the bread before adding the egg.
Rubbery egg:
- Egg cooked too long.
- Remove from heat as soon as it reaches your preferred doneness.
Broken yolk:
- Flipped too roughly.
- Use a wide spatula and slow movement.
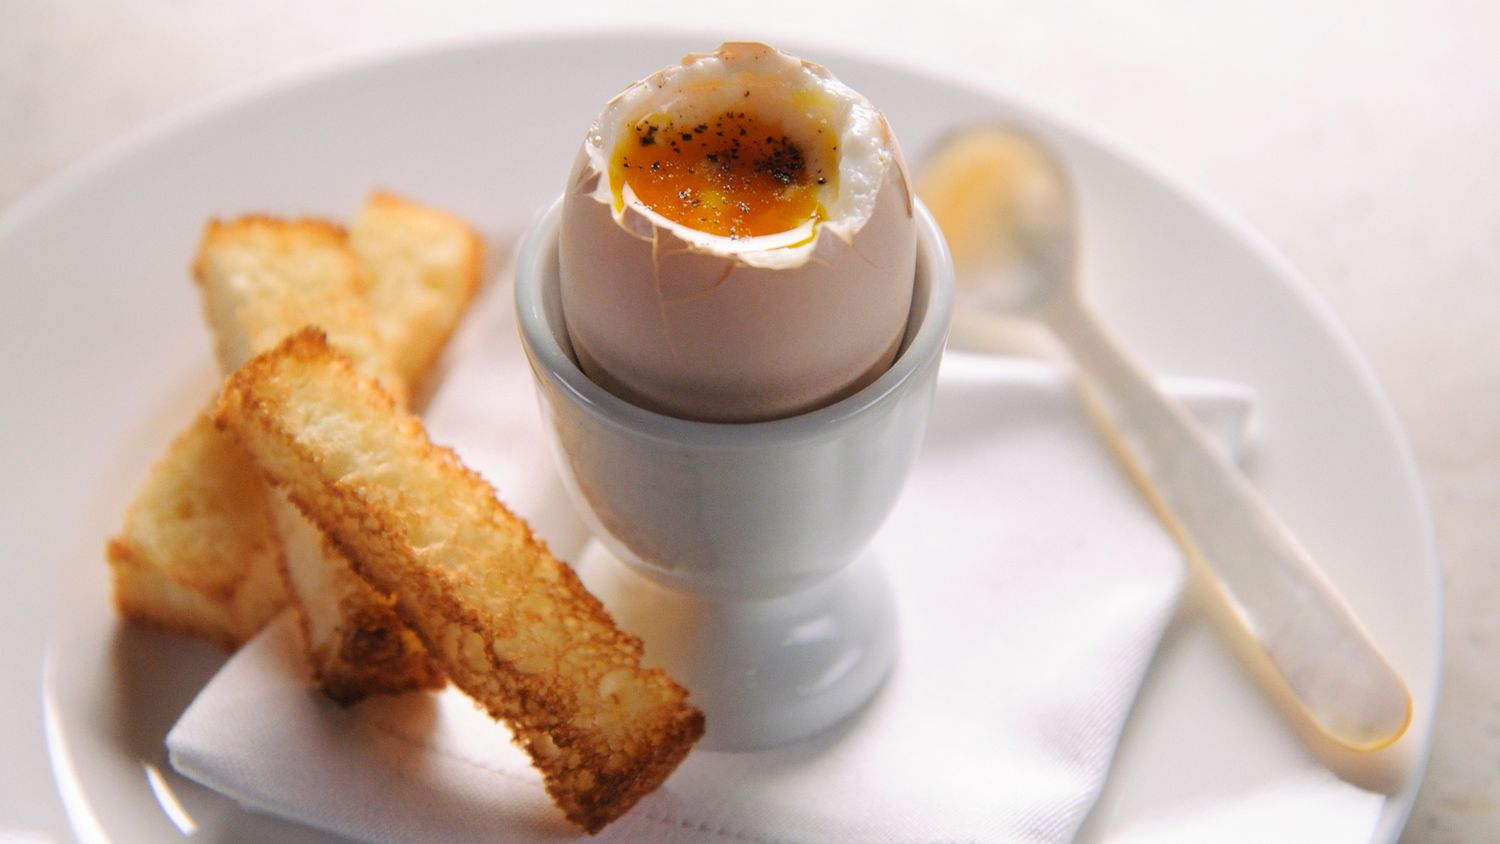
Serving Suggestions
Egg toast is best eaten immediately while warm.
It can be served:
- As breakfast
- As a light lunch
- As a quick snack
You can serve it with:
- Fruit
- Milk
- Juice
- A small salad
Nutritional Overview (Approximate)
- Provides protein from the egg
- Provides carbohydrates from the bread
- Provides fats from butter or oil
- Can be made healthier with whole-grain bread and minimal oil
Final Notes
Egg toast is a simple dish, but learning to cook it well teaches important basic skills such as heat control, timing, and seasoning. Once you master this recipe, you can easily experiment with more advanced variations.
Take your time, cook calmly, and enjoy the process as much as the food.
If you want, I can also:
- Write an even longer version
- Explain only the science behind egg toast
- Give many international egg toast variations
- Simplify it for kids or beginners
Just tell me.
air fryer bread
Below is a very long, clear, and easy-to-read guide for making bread in an air fryer.
There are no icons, and everything is explained slowly and carefully for good understanding.
Air Fryer Bread (Detailed Step-by-Step Guide)
Introduction
Making bread in an air fryer is a simple and convenient method, especially when you do not have an oven or want a smaller batch of bread. Air fryers cook using hot circulating air, which helps bread bake evenly while forming a nice crust on the outside and staying soft inside.
This guide explains how to make basic air fryer bread, starting from raw dough. It is written for beginners and includes explanations for each step so you understand what is happening while the bread cooks.
Ingredients (Basic Bread)
- 1 cup all-purpose flour
- 1 teaspoon baking powder
- 1/4 teaspoon salt
- 1 tablespoon oil or melted butter
- 1/3 cup milk or water
Optional ingredients (only after learning the basic recipe):
- Sugar or honey for slightly sweet bread
- Herbs or garlic for savory bread
Equipment Needed
- Air fryer
- Mixing bowl
- Spoon or spatula
- Clean flat surface for shaping dough
- Small air-fryer-safe pan or parchment paper
Step 1: Preparing the Dough
Take a mixing bowl and add the flour, baking powder, and salt.
Mix these dry ingredients well. This helps the baking powder spread evenly so the bread rises properly.
Add oil or melted butter to the bowl.
Slowly pour in the milk or water while mixing with a spoon. Do not add all the liquid at once. Add a little, mix, then add more if needed.
Mix until the dough starts coming together.
Step 2: Kneading the Dough
Lightly sprinkle flour on a clean surface.
Place the dough on the surface and knead it gently for about 2 to 3 minutes.
Kneading helps develop structure in the bread. The dough should feel soft but not sticky.
If it sticks too much, sprinkle a little more flour.
Once smooth, shape the dough into a round or oval shape, depending on your air fryer basket size.
Step 3: Preparing the Air Fryer
Preheat the air fryer to 160°C (320°F) for about 3 minutes.
This step helps the bread start cooking evenly as soon as it goes inside.
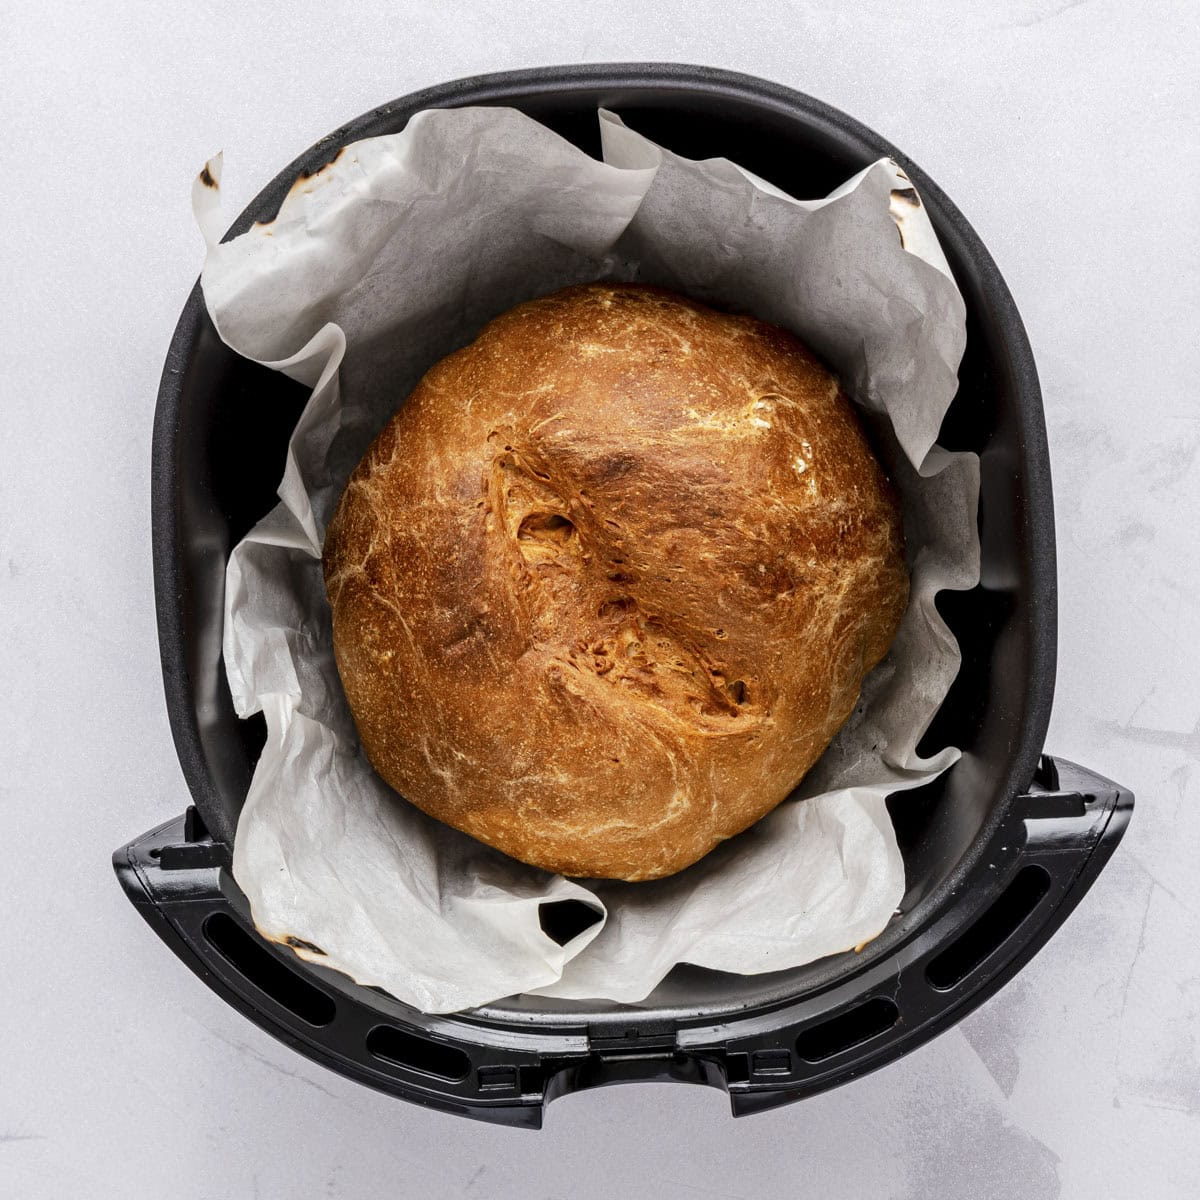
Lightly grease the air fryer pan or place parchment paper inside.
Place the shaped dough gently into the pan or basket.
Step 4: Cooking the Bread
Put the pan into the air fryer.
Set the temperature to 160°C (320°F) and cook for 10 minutes.
After 10 minutes, carefully open the air fryer and flip the bread using tongs or a spatula.
Flip gently to avoid breaking the bread.
Cook for another 8 to 10 minutes at the same temperature.
The bread should turn golden brown and sound hollow when tapped lightly.
Step 5: Checking Doneness
Insert a toothpick or knife into the center of the bread.
If it comes out clean, the bread is fully cooked.
If it feels sticky or wet inside, cook for an additional 2 to 3 minutes.
Avoid increasing the temperature too much, as this can burn the outside while leaving the inside undercooked.
Step 6: Cooling the Bread
Remove the bread from the air fryer.
Place it on a plate or cooling rack.
Let it cool for at least 5 to 10 minutes before slicing.
Cooling allows the inside texture to settle and prevents the bread from becoming gummy