Ingredients
Dry Ingredients
- 300 g (2 ½ cups) self-raising flour
- If using plain flour, see substitution notes below
- 1 teaspoon baking powder
- 75 g (⅓ cup) caster sugar or superfine sugar
- ¼ teaspoon salt
Fat
- 75 g (5 tablespoons) cold unsalted butter, cut into small cubes
Fruit
- 100 g (¾ cup) dried fruit such as:
- Raisins
- Sultanas
- Currants
- Or a mix of the above
Wet Ingredients
- 150 ml (⅔ cup) cold milk, plus extra for glazing
- 1 teaspoon vanilla extract (optional)
Equipment Needed
- Large mixing bowl
- Measuring cups or kitchen scale
- Sharp knife or pastry cutter
- Mixing spoon or fork
- Clean work surface
- Rolling pin (optional)
- Round cutter (5 to 6 cm diameter)
- Baking tray
- Baking parchment
- Pastry brush
Preparation Steps
Step 1: Preheat the Oven
Preheat your oven to 220°C (425°F), or 200°C (400°F) if using a fan oven.
Place the oven rack in the middle position.
A hot oven is essential for scones. It helps them rise quickly and develop a light texture.
Step 2: Prepare the Dry Ingredients
In a large mixing bowl, combine:
- Self-raising flour
- Baking powder
- Sugar
- Salt
Whisk or stir well to ensure the ingredients are evenly distributed. This prevents uneven rising and inconsistent sweetness.
Step 3: Rub in the Butter
Add the cold, cubed butter to the flour mixture.
Using your fingertips, gently rub the butter into the flour. Lift your hands as you work to keep the mixture light and airy.
Continue until the mixture resembles fine breadcrumbs, with no large pieces of butter remaining.
Important notes:
- The butter must stay cold
- Do not overwork the mixture
- Avoid using your palms, as they generate too much heat
This step is crucial for creating a tender, flaky texture.
Step 4: Add the Dried Fruit
Stir the dried fruit into the breadcrumb-like mixture.
Mix gently so the fruit is evenly distributed and lightly coated with flour. This helps prevent it from sinking or clumping.
Step 5: Add the Liquid
Make a well in the center of the mixture.
Pour in:
- The milk
- Vanilla extract, if using
Using a fork or spoon, gently mix until the dough just comes together. The dough should be soft but not sticky.
If the dough feels too dry, add milk one tablespoon at a time.
If it feels too wet, sprinkle in a small amount of flour.
Avoid overmixing. Overworking the dough will make the scones dense and tough.
Step 6: Shape the Dough
Turn the dough out onto a lightly floured surface.
Gently bring it together with your hands. Do not knead.
Pat the dough into a round about:
- 2 to 2.5 cm (¾ to 1 inch) thick
Using a floured round cutter, press straight down to cut out scones. Do not twist the cutter, as twisting can prevent proper rising.
Place the scones onto a lined baking tray, leaving a little space between each one.
Gather the scraps gently, reshape once, and cut additional scones.
Step 7: Chill (Optional but Recommended)
Place the tray of scones in the refrigerator for 10 to 15 minutes.
Chilling helps the butter firm up again, improving rise and texture during baking.
Step 8: Glaze
Brush the tops of the scones lightly with milk.
Avoid letting the glaze drip down the sides, as this can restrict rising.
Baking Instructions
Place the tray in the preheated oven.
Bake for 12 to 15 minutes, or until:
- Well risen
- Golden brown on top
- Light in weight when lifted
Do not overbake, as scones dry out quickly.
Remove from the oven and transfer to a wire rack to cool slightly.
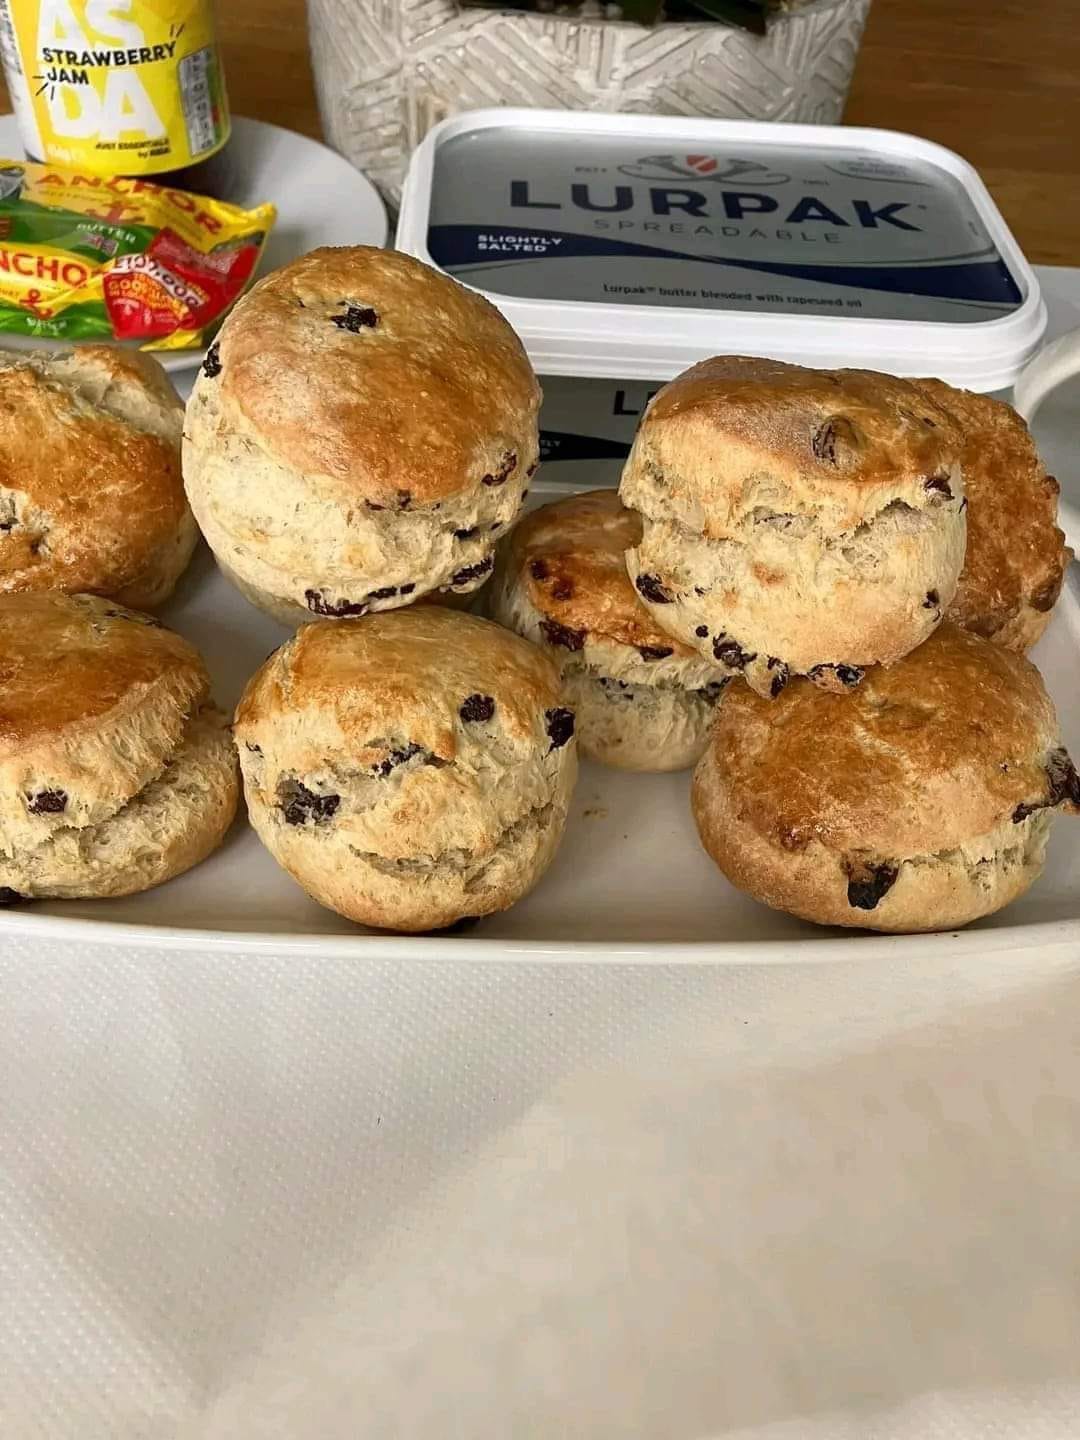
Serving Suggestions
Fruit scones are best served warm or at room temperature.
Traditional accompaniments include:
- Clotted cream or whipped cream
- Strawberry or raspberry jam
- Butter
They pair well with tea or coffee.