Ingredients
Core Ingredients (1 Sandwich)
- 2 slices of bread (white, sourdough, or whole wheat)
- 2 to 3 slices of cheese (cheddar, mozzarella, American, or a blend)
- 1 to 2 tablespoons butter (softened) or mayonnaise
Choosing the Right Ingredients
Bread Selection
The foundation of your sandwich matters greatly.
- White Bread: Soft interior, crisps quickly
- Sourdough: Slight tang, sturdier structure, excellent crunch
- Whole Wheat: Nutty flavor, denser texture
For best results, use bread that is neither too thin nor overly thick.
Cheese Selection
The meltability and flavor of your cheese determine the final outcome.
- Cheddar: Sharp and flavorful
- Mozzarella: Stretchy and mild
- American Cheese: Ultra-smooth melt
- Gruyère: Rich and slightly nutty
Combining cheeses often yields the best texture and flavor.
Equipment Needed
- Air fryer
- Butter knife or spatula
- Small plate
- Optional parchment paper (air fryer-safe)
Preparation Steps
Step 1: Preheat the Air Fryer
Set your air fryer to 180°C (350°F) and allow it to preheat for 3 to 5 minutes. Preheating ensures even cooking from the start.
Step 2: Prepare the Bread
Spread a thin, even layer of butter (or mayonnaise) on one side of each slice of bread. This layer is crucial for achieving a golden, crispy crust.
Place the buttered sides facing outward.
Step 3: Assemble the Sandwich
- Lay one slice of bread butter-side down
- Add your cheese evenly across the surface
- Top with the second slice, butter-side up
Make sure the cheese does not extend beyond the edges to prevent melting and sticking inside the air fryer.
Cooking Instructions
Step 4: Place in Air Fryer
Carefully place the sandwich in the air fryer basket. If your air fryer has a strong fan, you may secure the sandwich with a toothpick to prevent the bread from shifting.
Step 5: Air Fry
Cook at 180°C (350°F) for 8 to 10 minutes total.
- At the 4 to 5 minute mark, gently flip the sandwich
- Continue cooking until both sides are golden brown
Step 6: Check for Doneness
Your sandwich is ready when:
- Both sides are crisp and golden
- Cheese is fully melted and slightly oozing
- The bread feels firm to the touch
Step 7: Rest Before Serving
Allow the sandwich to rest for 1 to 2 minutes. This helps the cheese settle slightly and prevents burns when biting in.
Tips for Perfection
Achieving Extra Crispiness
- Use a slightly thicker layer of butter
- Add a light sprinkle of grated cheese on the outside before cooking
Preventing Soggy Bread
- Do not overload with cheese
- Avoid very soft or overly fresh bread
Even Melting
- Use room temperature cheese
- Avoid stacking too many thick slices
Flavor Variations
Classic Upgrade
Add a thin layer of mustard or garlic butter inside the sandwich for extra depth.
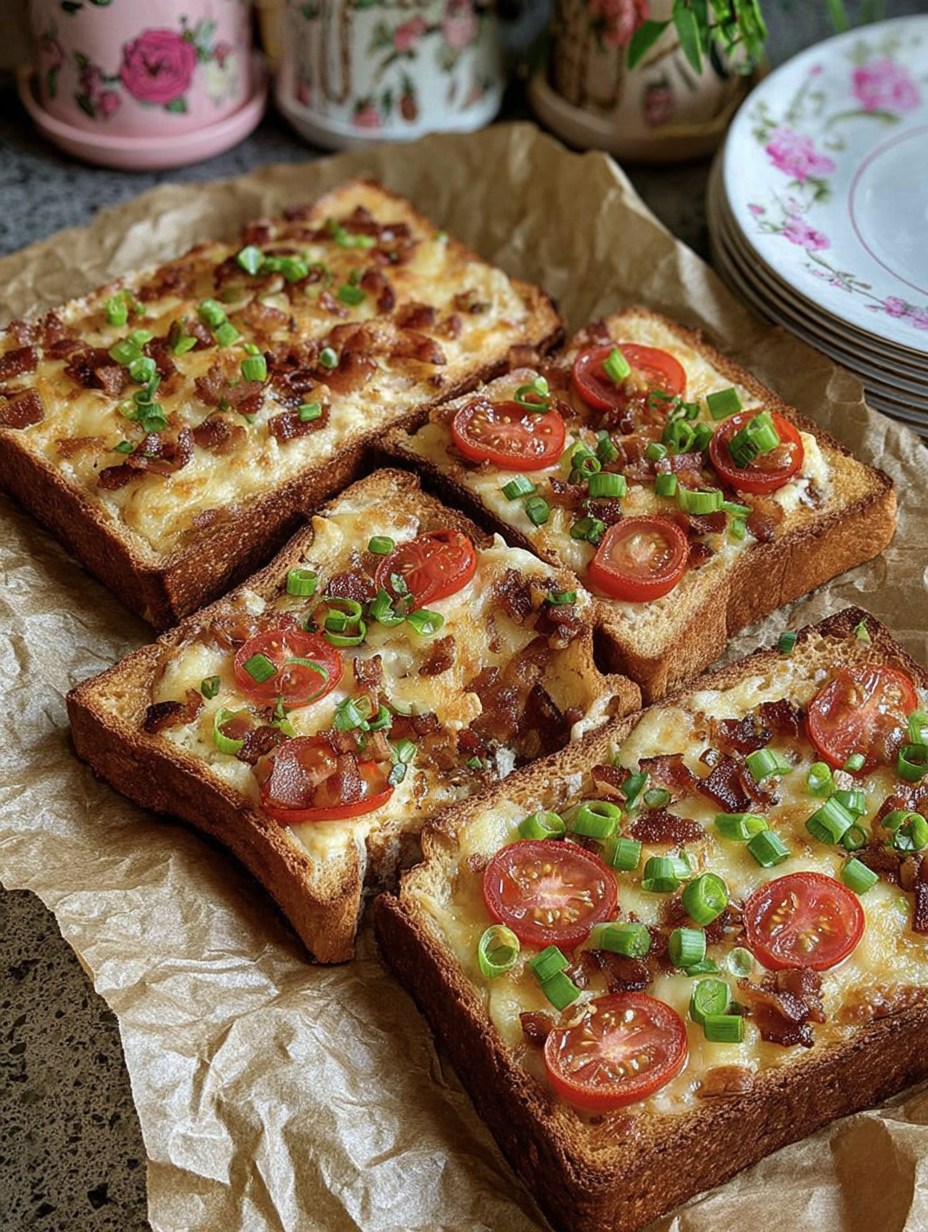
Tomato and Cheese
Add thin slices of tomato for a fresh, juicy contrast.
Garlic Herb Grilled Cheese
Mix minced garlic and dried herbs into your butter before spreading.
Spicy Version
Add sliced jalapeños or a pinch of chili flakes.
Serving Suggestions
Serve your grilled cheese sandwich with:
- Tomato soup
- Pickles
- Fresh salad
- Crispy fries
Common Mistakes to Avoid
- Skipping preheating
- Using too much cheese, causing uneven melting
- Not flipping halfway through
- Using very high temperatures, which can burn the bread before the cheese melts